Your wedding day is the most photographed day of your life. These photos are also the ones that seem to always be around and resurface throughout the years. Naturally you want to have your skin in it's best condition. Continue reading for a guideline to follow for your bridal glow.
1) Begin your best practices as soon as possible. Many treatments such as microdermabrasion and peels require multiple sessions spanned over time to get the best results. Topical treatments also take weeks and even months to reveal their best results.
2) Schedule regular appointments with a professional for treatments, facials and skincare advice.
3) What better time in your life than now to start laser hair removal. Whether on your face or body, this process takes some time to complete.
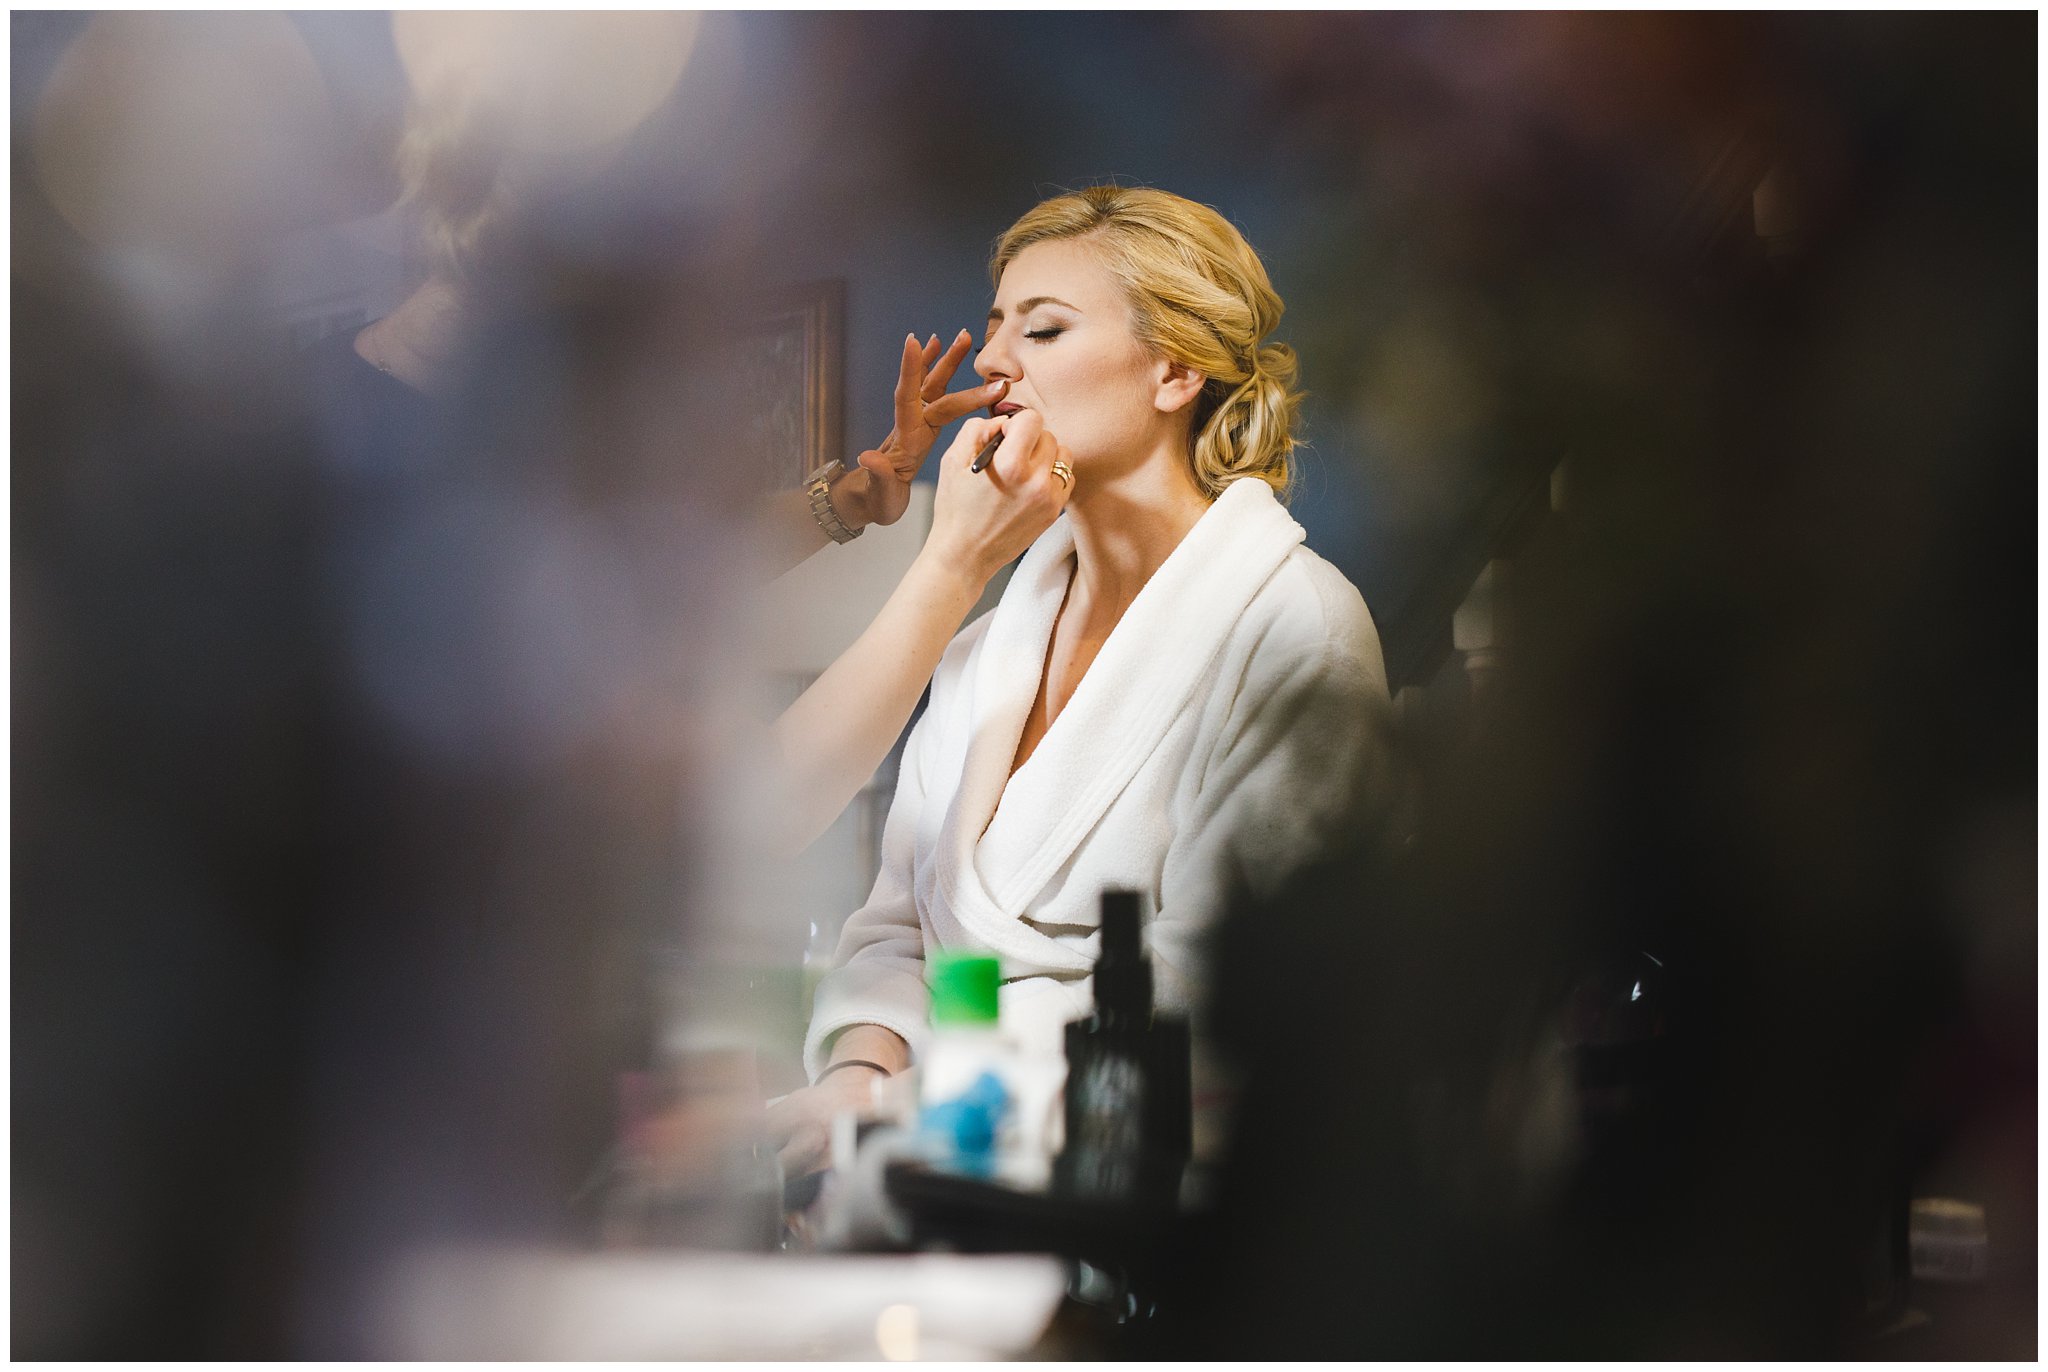
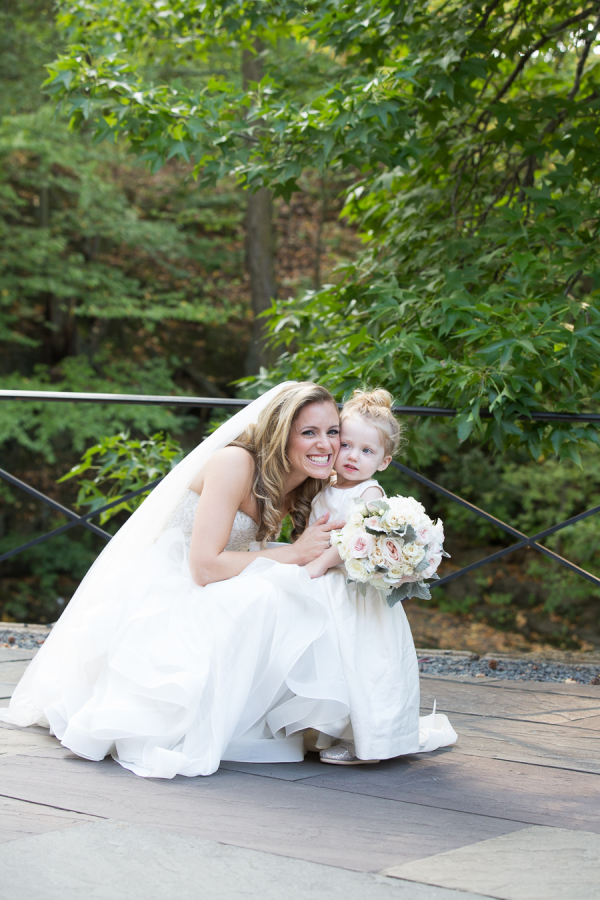
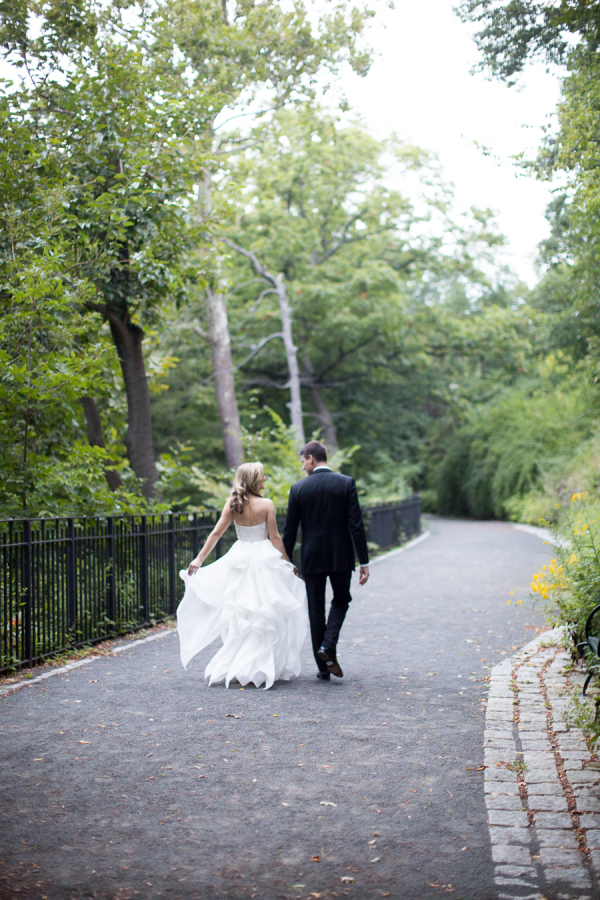
Photo Credit: Georgi Anastasov
4) If breakouts or hyperpigmenation are a problem, consult with a professional. There are many treatments and products that can help clear these issues.
5) Be diligent about your daily sunscreen and avoiding overexposure in the sun. Remember, if your have blemishes or hyperpigmenation, the sun worsens both conditions.
6) Eat healthy and drink plenty of water. You may even consider a multi-vitamin to boost your glow. This will also help with your hair and nails too!

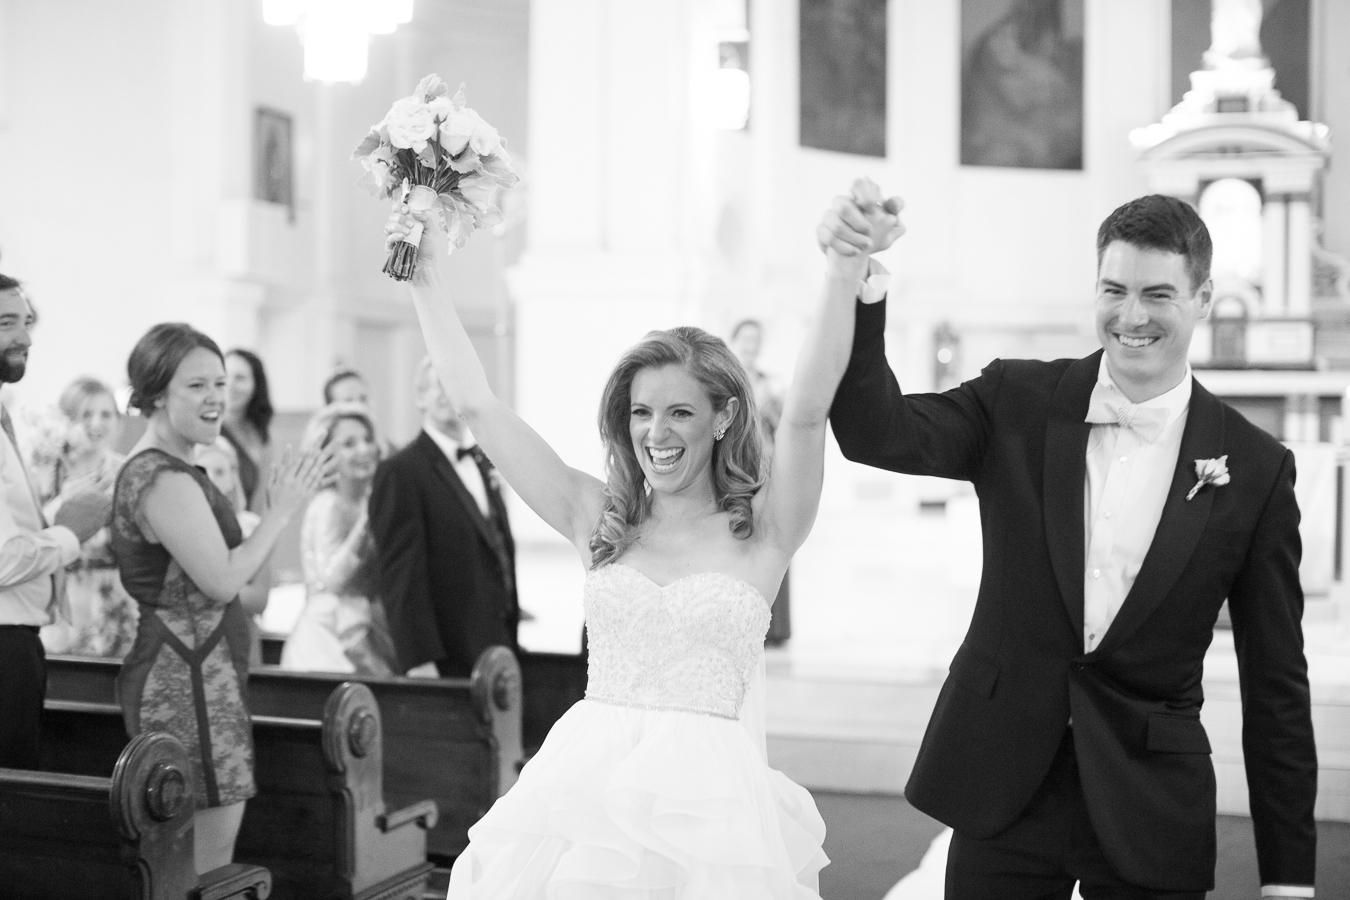
Photo Credit: Yannis Malevitis Photography
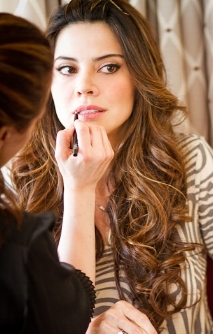
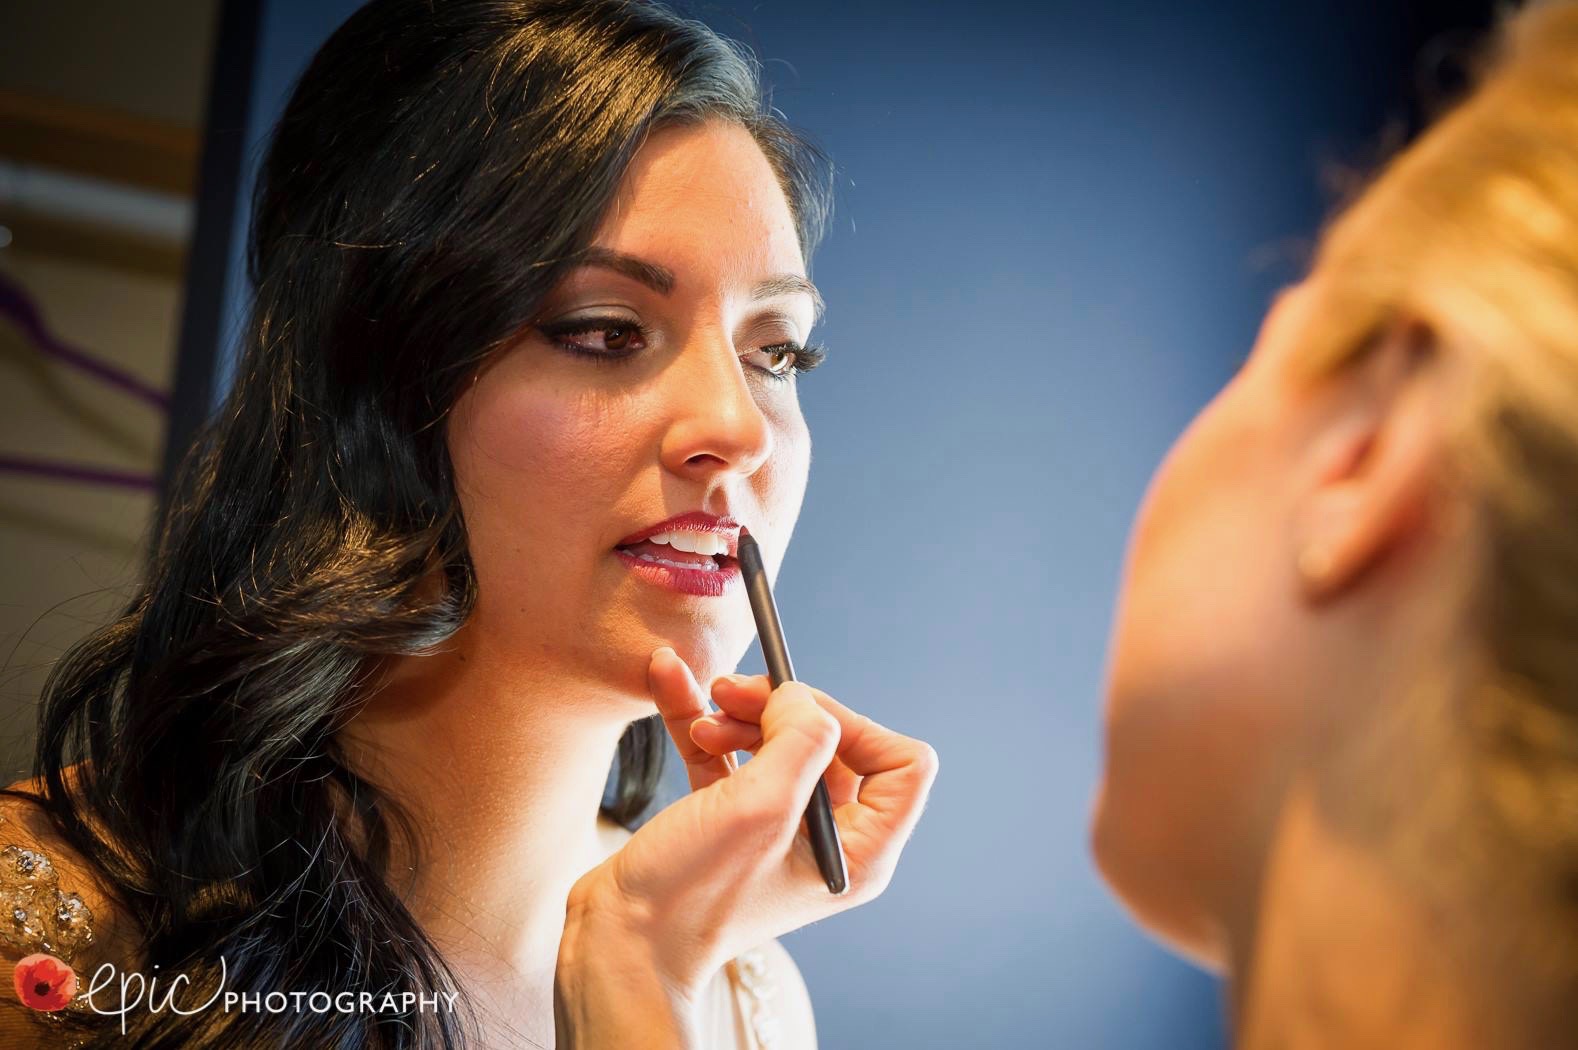
7) Be sure to use a moisturizer that is appropriate to your skin type. Yes, even oily skin needs to balance moisture and avoid dehydration.
8) Wedding planning can be stressful and stress can cause breakouts. Find your stress reliever...yoga, running, meditation, whatever works for you.
9) Don't forget your brows. If you they are not already in their best shape, now is the time. Brow rehab can take time! Seek a professional who specializes in brow shaping for your best look.
10) For regular skin boosts, try at-home masks. There is a plethora of masks available for any and all skin concerns.